E-commerce Image SEO and Processing


One of the biggest challenges with e-commerce SEO is maintaining image performance, quality and metadata optimisation.
Properly optimised images should have the following attributes:
- Quick loading times
- Correct file and image size relevant to the image size that is being displayed
- Optimised file names
- Relevant and concise alt text
- Relevant and concise title text
- Correct colour space for web viewing and screen compatibility
- Correct Pixel density
- Correct aspect ratios
- Correct file type and compression for the image use
This guide will help you to quickly and easily crop, resize and compress your product images for the purpose of achieving:
- Improved page load times for site users while also resulting in:
- Improved search rankings
- Improved conversion rates
- Uniformity across all product images
STEPS:
Step 1: Ensure you have the latest version of Photoshop. If you have an old version of Photoshop then you should be able to update it by logging into your Creative Cloud account at https://creativecloud.adobe.com OR opening your creative cloud application, selecting ‘All Apps’ and browsing to your Photoshop installation to see if an update is needed.
Step 2: Once Photoshop is up to date you will then need to install the Camera Raw Plugin for Photoshop. This handy little tool adds all the functionality we’ll need to crop, resize, compress and rename our images all in the one go. Follow the instructions the Adobe Camera Raw installer to install the Camera RAW plugin for Photoshop.
Step 3: Once Camera Raw is installed you will then need to Install Adobe Bridge. Adobe Bridge is usually included with any subscription that includes Photoshop and can be found by using the search tool in Creative Cloud.
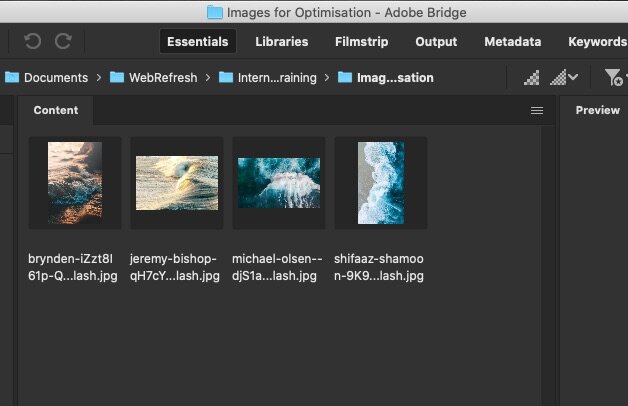
Step 4: Open your product images in Adobe Bridge.
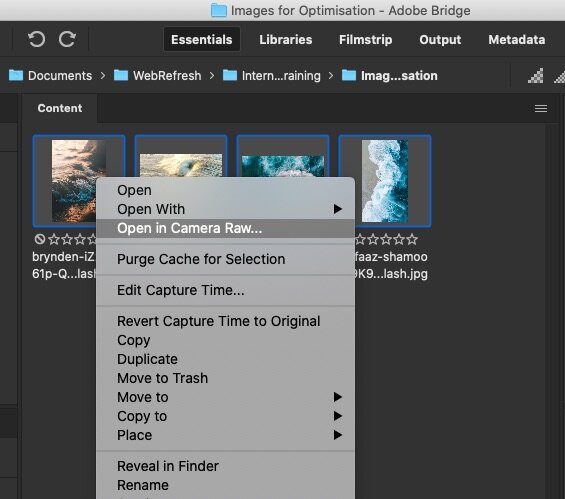
Step 5: Select your images and right click (command click on Mac) to select ‘Open in CameraRaw’. Note: Only .jpeg images can be compressed using CameraRaw.
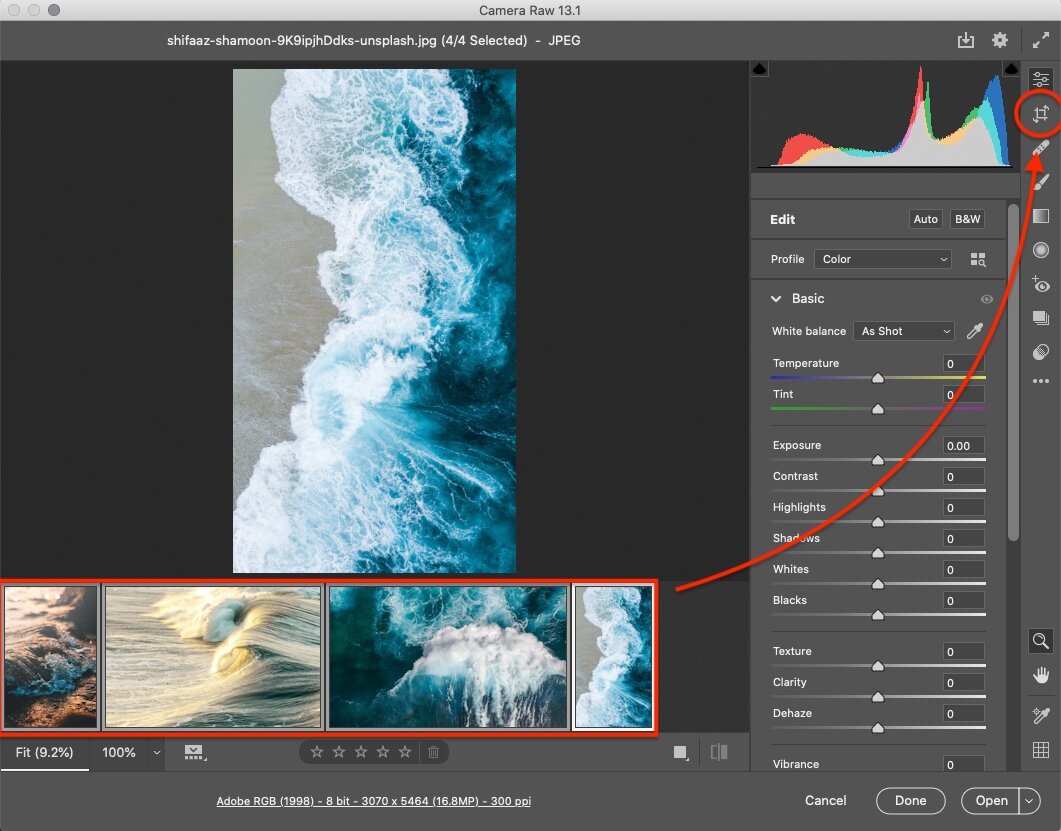
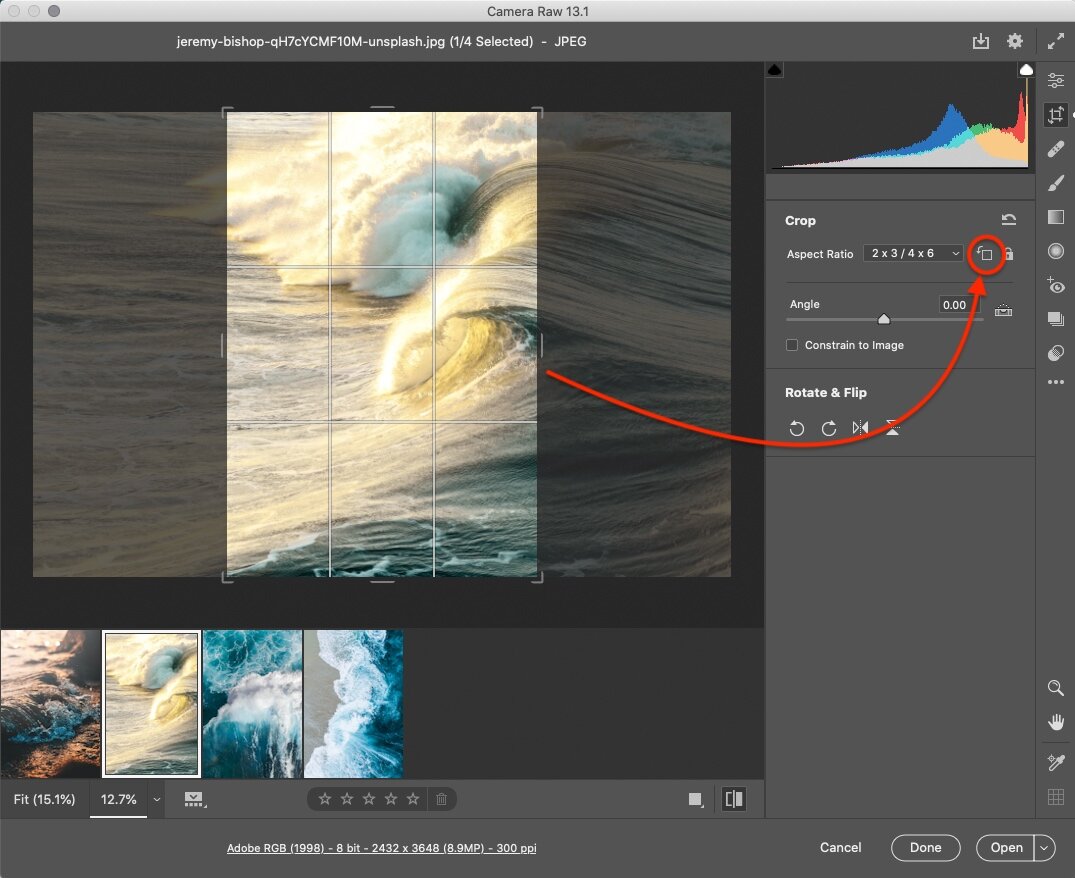
Step 6: Select all images in the image thumbnail bar down the bottom and crop images to the correct aspect ratio by using the crop tool.
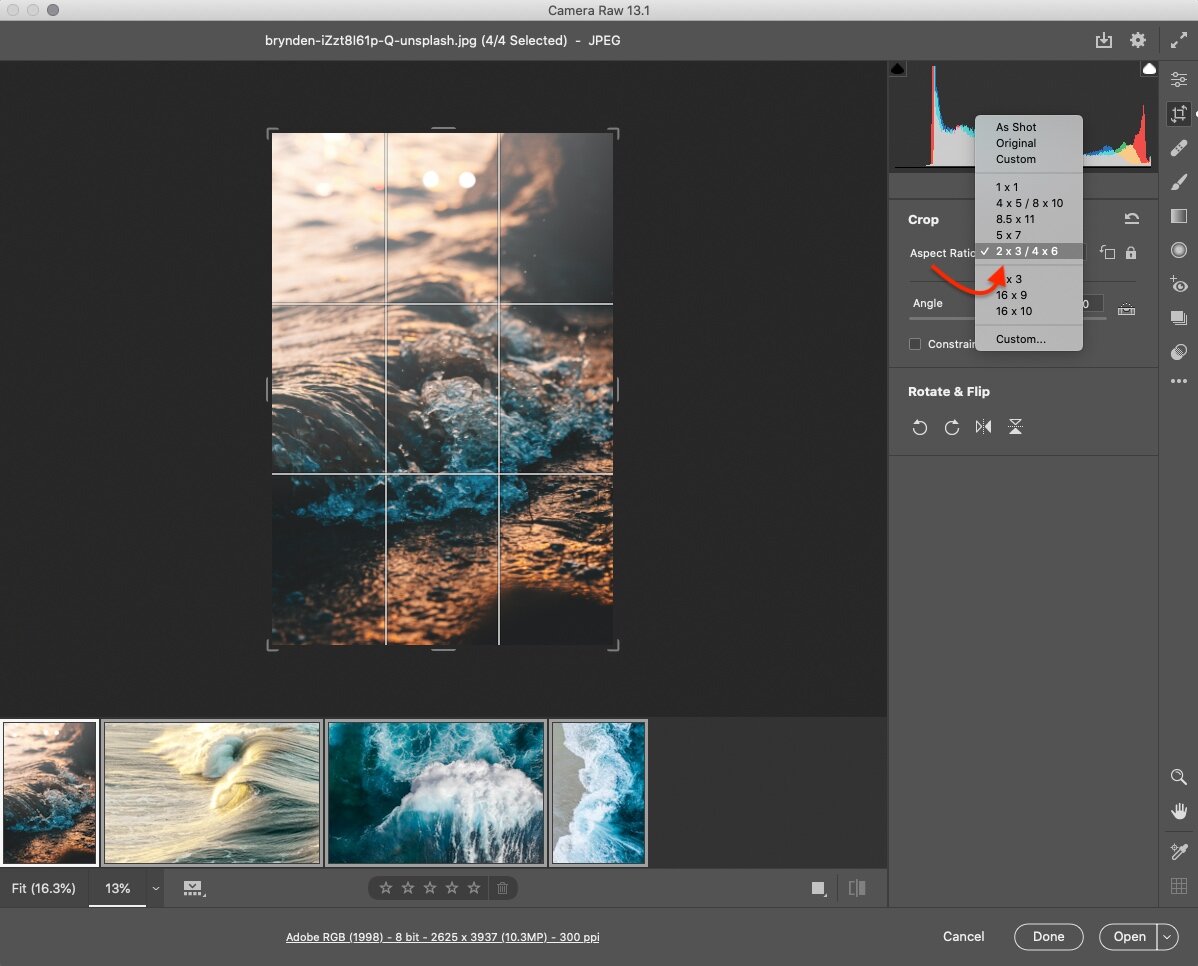
Step 7: Scroll through images to ensure your crop area is ideal. If you have landscape images you may need to rotate the crop area for those images:
Step 8: Select all of your images again from the thumbnail bar at the bottom and then select the three dots on the right hand side and then select save images to set up your export settings. You can use this opportunity to set up a custom preset for use across all future exports.
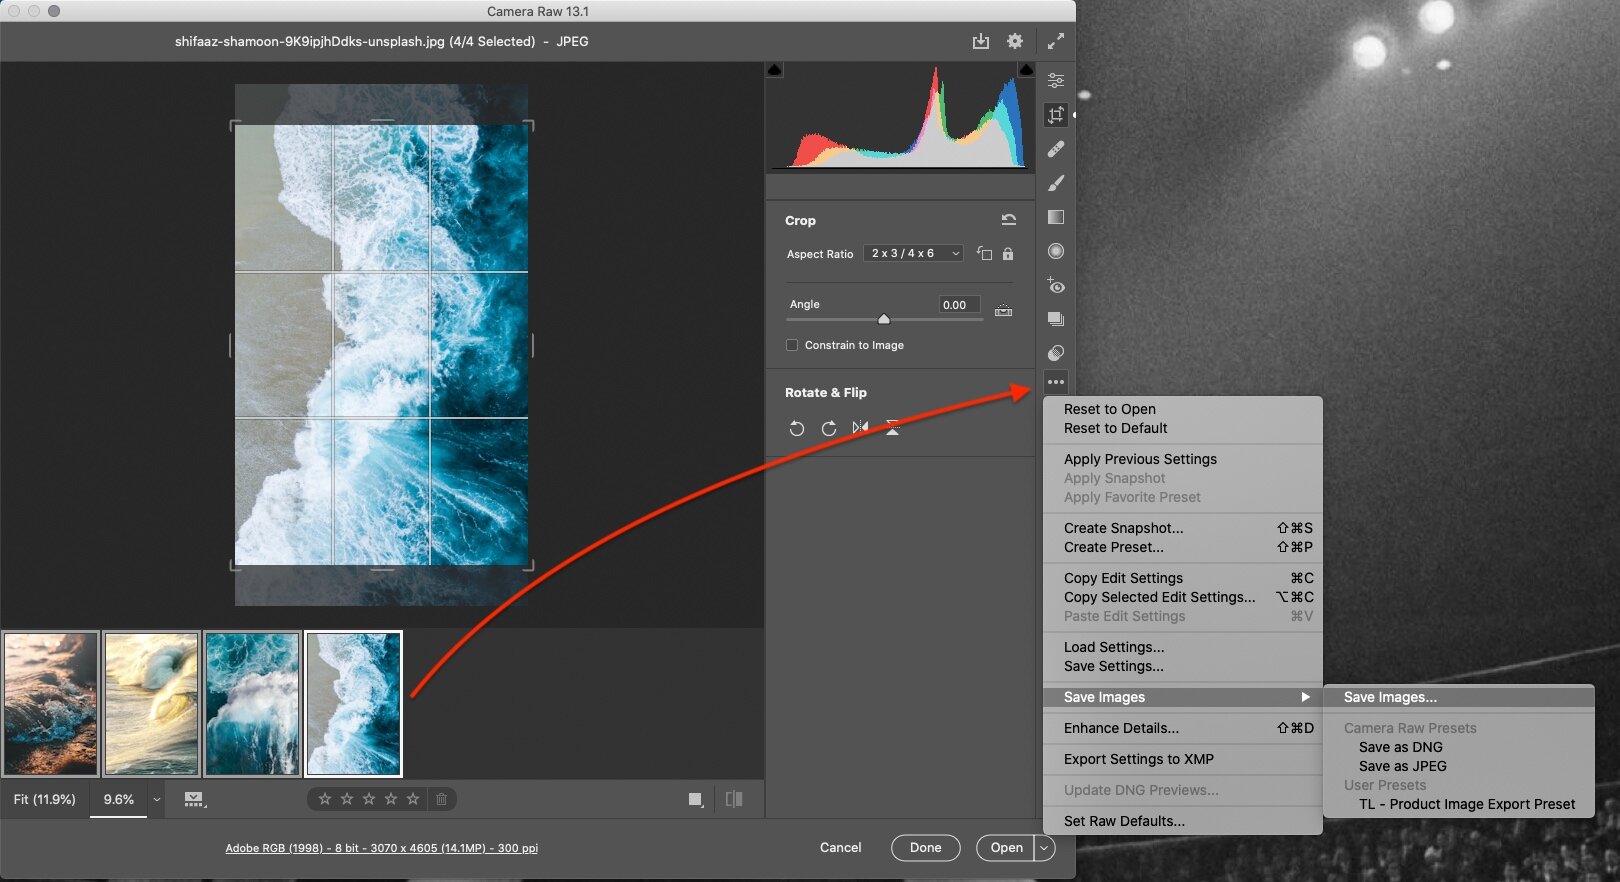
Step 9: in our example we want all images to have the following attributes:

- A 2 x 3 aspect ratio (this has already been set during the image crop process)
- An optimised naming convention e.g. BrandName-ProductName-ImageNumber
- The file format set to .jpg
- The file metadata only contains the necessary elements e.g. ‘Copyright Only’ if acceptable for your use case.
- A file size to 150K or less
- An sRGB colour space (this is best for web)
- Dimensions resized to 1000px or less on the short side of the image
- Click ‘don’t enlarge’, we usually don’t want smaller images brought up in size
- A resolution of 72 pixels per inch (this is best for web)
- Once you’ve completed your settings you can export the files for review to ensure they meet your expectations for visual quality.
WHAT NEXT?
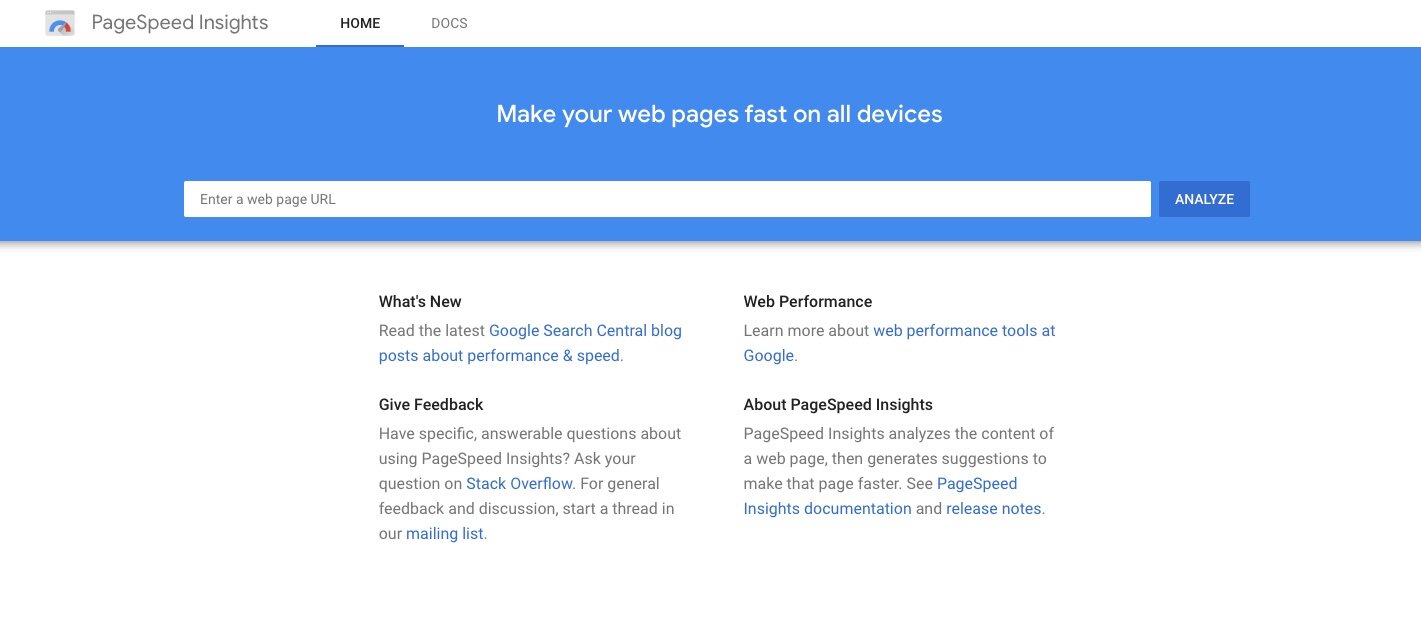
After you’ve uploaded your images to your online store it’s time to ensure they’re performing well for SEO. The best way to do this is to run your page through Google’s PageSpeed Insights:
Once your PageSpeed Insights report finishes loading you’ll want to scroll down to the section titled ‘Opportunities’ and have a look to see if the ‘Properly Size Images’ opportunity appears:
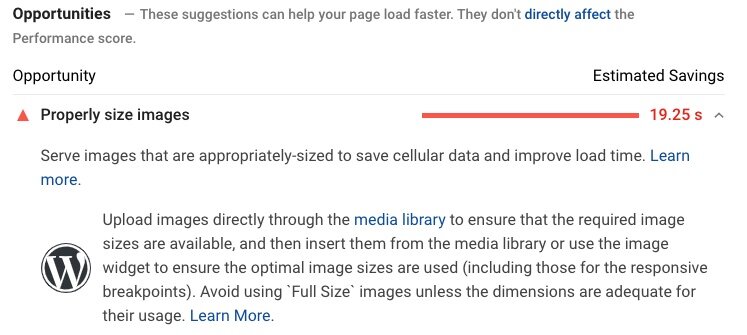
If you can’t see it, well done! If you can, you’ll want to check to see how much further Google thinks you should be able to reduce your image file sizes and reduce your image size or increase your compression as much as possible without making your images look pixelated.
I hope you’ve enjoyed reading all about eCommerce Image SEO and batch processing as much as I’ve enjoyed writing about it!
Please feel free to reach out if you have any comments or questions.